A Step-by-Step Guide for Accurate Weight Measurement
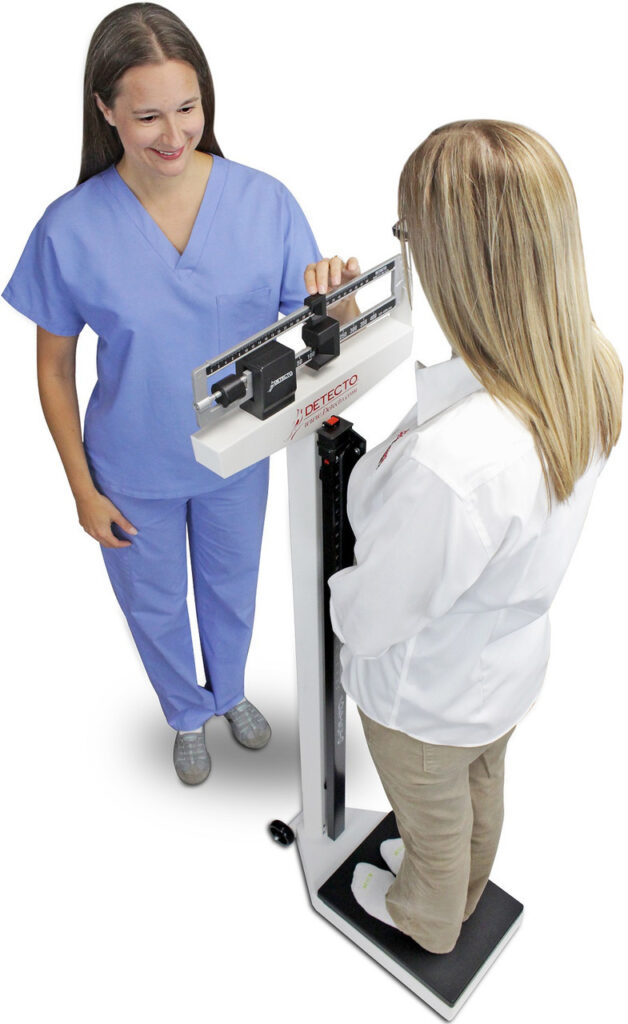
When you visit your doctor’s office, you might notice that the scales used there are quite different from the typical at-home models. These specialized devices, known as physician beam scales, are designed to provide highly accurate weight measurements, making them ideal for medical settings. This is the process for using a physician beam scale, ensuring you get the most precise reading possible.

Calibration Tips and Warnings
If the scale isn’t calibrated correctly, consult the instruction manual for guidance. Typically, a screwdriver or similar tool is required to adjust a calibration screw on one side of the beam, allowing you to move it up or down as needed to reach zero.

Physician beam scales are a staple in medical settings due to their precision and reliability. By following these steps, you can ensure accurate weight measurements every time. Understanding how to use these scales properly not only aids in precise diagnostics but also enhances overall patient care.
Step 1: Ensure Proper Calibration
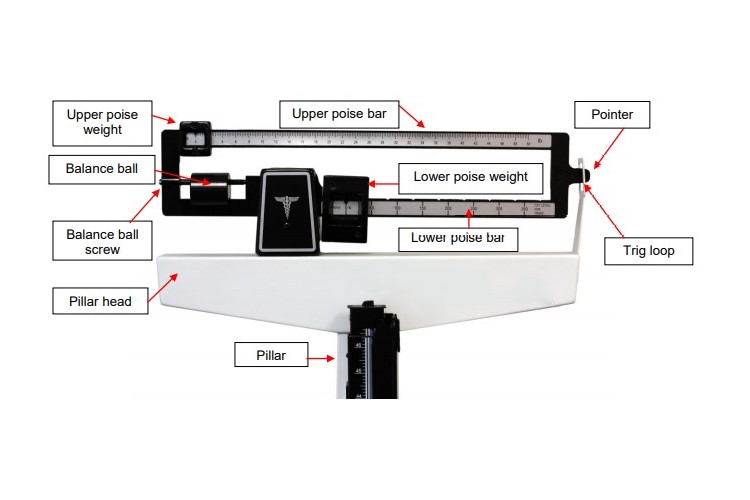
Before using the scale, it’s crucial to check that it is properly calibrated. Start by setting both the large counterweight and the small sliding weight to zero. The rotating beam should come to a stop in a completely horizontal position, with the needle on the far right end centered in the slot. If the beam does not balance correctly, you may need to recalibrate the scale according to the manufacturer’s instructions.
Step 2: Prepare for Weighing
To obtain an accurate reading, remove your shoes and any heavy clothing, such as a jacket, before stepping on the scale. This helps eliminate any extraneous weight that could affect the measurement.
Step 3: Estimate Your Weight
Having an approximate idea of your weight can make the process smoother. For instance, if you know you weigh around 155 pounds, you can begin the measurement close to this estimate.
Step 4: Position Yourself on the Scale
Step onto the scale facing the beam. Move the large counterweight to a number that is slightly less than your estimated weight but close to it. For example, if you estimate your weight to be 155 pounds, place the counterweight on 150.
Step 5: Fine-Tune the Small Weight
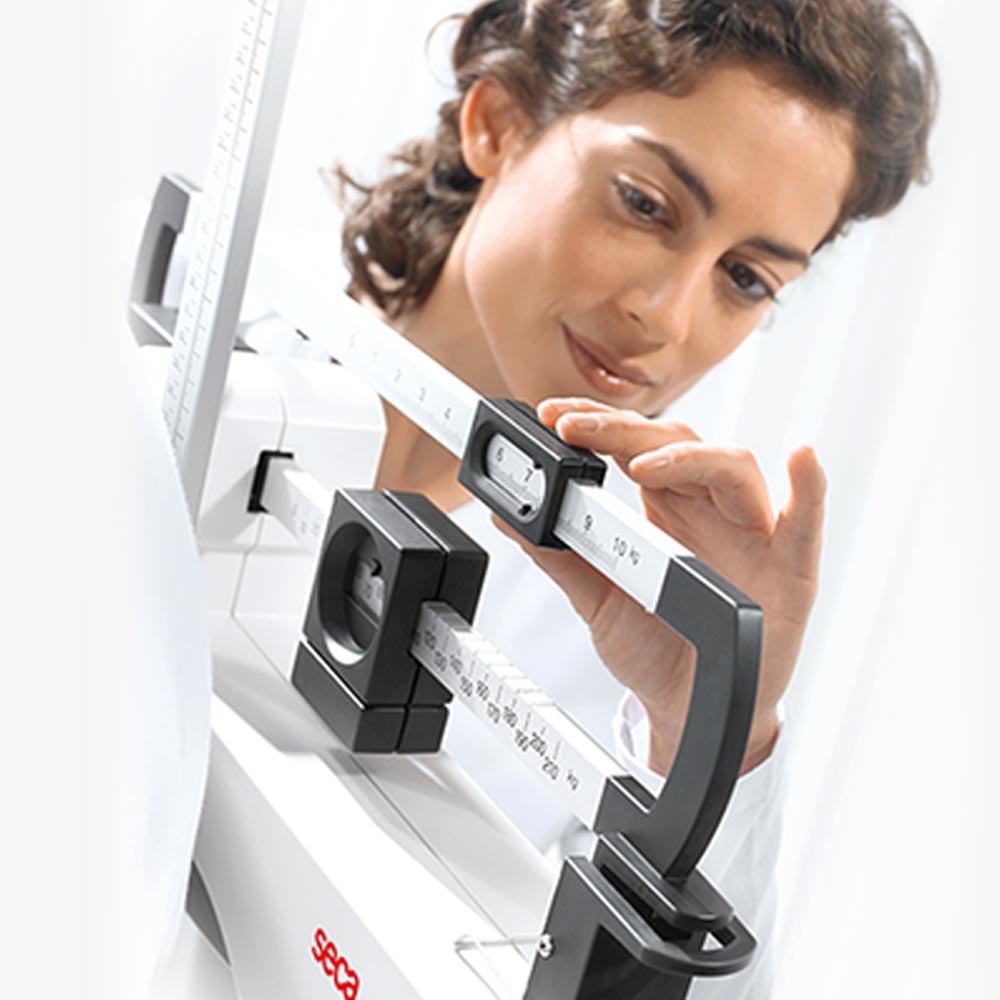
Slowly slide the small weight along the scale. The beam has notches at each weight increment, allowing the slider to rest securely. Watch the balance beam carefully. When the beam is perfectly horizontal, and the needle is centered in the slot, you have found the correct weight.
Step 6: Adjust for Accuracy
If the beam does not settle horizontally, adjust the small weight incrementally up or down. If your initial estimate was significantly off, you might also need to move the large counterweight. Continue adjusting until the beam rests in a straight line.
Step 7: Read the Final Weight
Once the beam is balanced, read your actual weight. The large counterweight provides the main portion of the number (e.g., 150), and the small weight adds the additional amount (e.g., if the small weight is on 6, your total weight is 156 pounds).


