How to Use a Physician Beam Scale
When visiting a doctor’s office, you may have noticed the physician beam scale that differs significantly from the typical digital or analog bathroom scales at home. This type of scale is highly regarded in clinical settings for providing exceptionally accurate weight measurements.
Physician beam scales use a mechanical balance system with sliding weights, which is why they are trusted by healthcare professionals for precise weight tracking.
Step-by-Step Guide
Here’s a step-by-step guide to using a physician beam scale to ensure an accurate weight measurement:
Step 1: Confirm Calibration
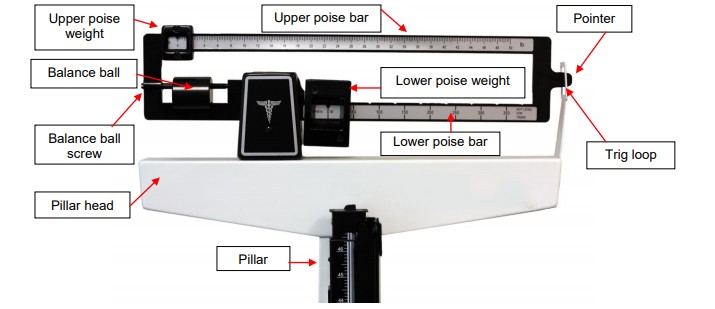
Before starting, ensure the scale is properly calibrated. Check that both the large counterweight (Lower poise weight) and the small sliding weight (Upper poise weight) are set to zero. The beam should balance perfectly horizontal, with the pointer needle on the far right positioned in the center of its slot. This ensures the scale is ready for an accurate reading.
Step 2: Remove Shoes and Heavy Clothing
To get an accurate weight, step on the scale with minimal clothing. Remove heavy jackets, shoes, or any accessories that might add unnecessary weight. Lighter, form-fitting clothing ensures the most accurate measurement possible.
Step 3: Estimate Weight
Before using the sliding weights, it’s helpful to have a rough estimate of the weight. This allows you to start adjusting the scale closer to the actual weight, which saves time. For example, if you estimate the weight to be around 155 lbs, you can begin by adjusting the main weight accordingly
Step 4: Position the Large Counterweight
Have the patient step onto the scale, facing the beam. First, adjust the large counterweight by sliding it to the nearest lower estimate of your weight. Using the example of a 155 lb estimate, you would slide the main weight to the 150 lb mark. The main counterweight provides the larger portion of the weight reading.
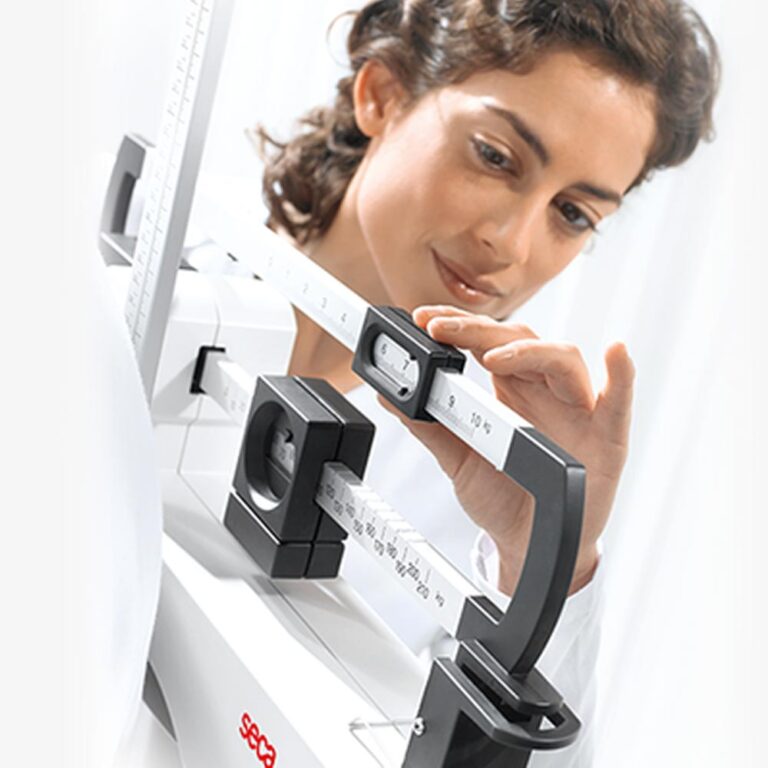
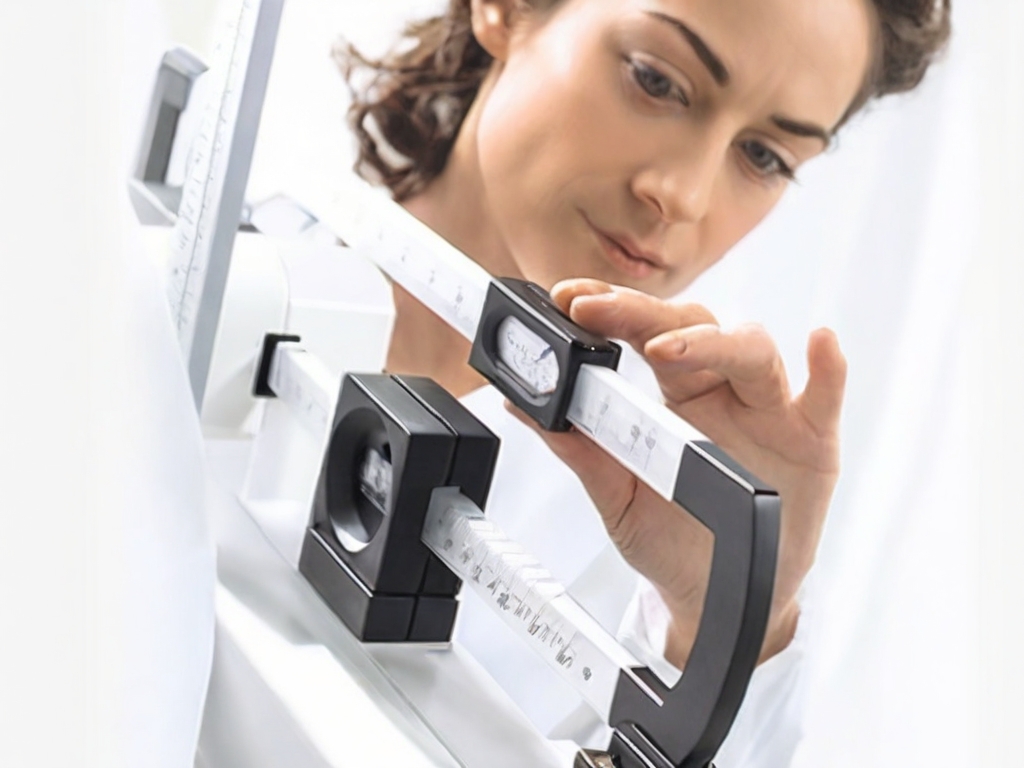
Step 5: Fine-Tune with the Small Sliding Weight
Next, use the small sliding weight for fine adjustments. Slowly move the small weight along the beam until the rotating beam balances horizontally again. You will notice small notches along the beam where the weight can rest. Continue sliding it until the beam stays level, with the pointer centered in the slot at the right side.
Step 6: Adjust and Balance
If the beam doesn’t rest in a perfectly horizontal position, adjust the small sliding weight incrementally up or down. If your weight estimate was significantly off, you may also need to reposition the main counterweight. The goal is to get the beam perfectly balanced.
Step 7: Read Your Weight
Once the beam is balanced and level, you can determine your weight. The large counterweight gives you the primary number (e.g., 150), while the small sliding weight adds the precise value. For example, if the small weight rests on the 6 lb mark, your total weight would be 156 lbs.
If the scale is not properly calibrated, refer to the instruction manual for guidance on how to adjust it. Usually, you can use a small tool, such as a screwdriver, to turn an adjustment screw located on the side of the balance beam. This will allow you to raise or lower the beam to bring it closer to the zero point for accurate measurement.
Why Use a Physician Beam Scale?
Physician beam scales are favored for their high accuracy and precision, often to the nearest ¼ lb or 0.1 kg. They are mechanical and don’t rely on batteries or electricity, ensuring long-term reliability. These scales are particularly useful in medical environments where consistent, accurate weight tracking is crucial for patient care. They are easy to recalibrate and work well for both light and heavy individuals, offering a broad weight range.
Physician beam scales are an ideal choice for precise weight measurement, whether used in a clinical environment or for personal use at home. With practice, you’ll be able to use the scale confidently and get the most accurate readings possible.